Sensors are a vital part of any robotic project, as they allow a robot to get information about the environment in which it’s operating. Without sensors, a robot has no information about the world around it, and it’s very tough to program intelligent behaviours for the robot.
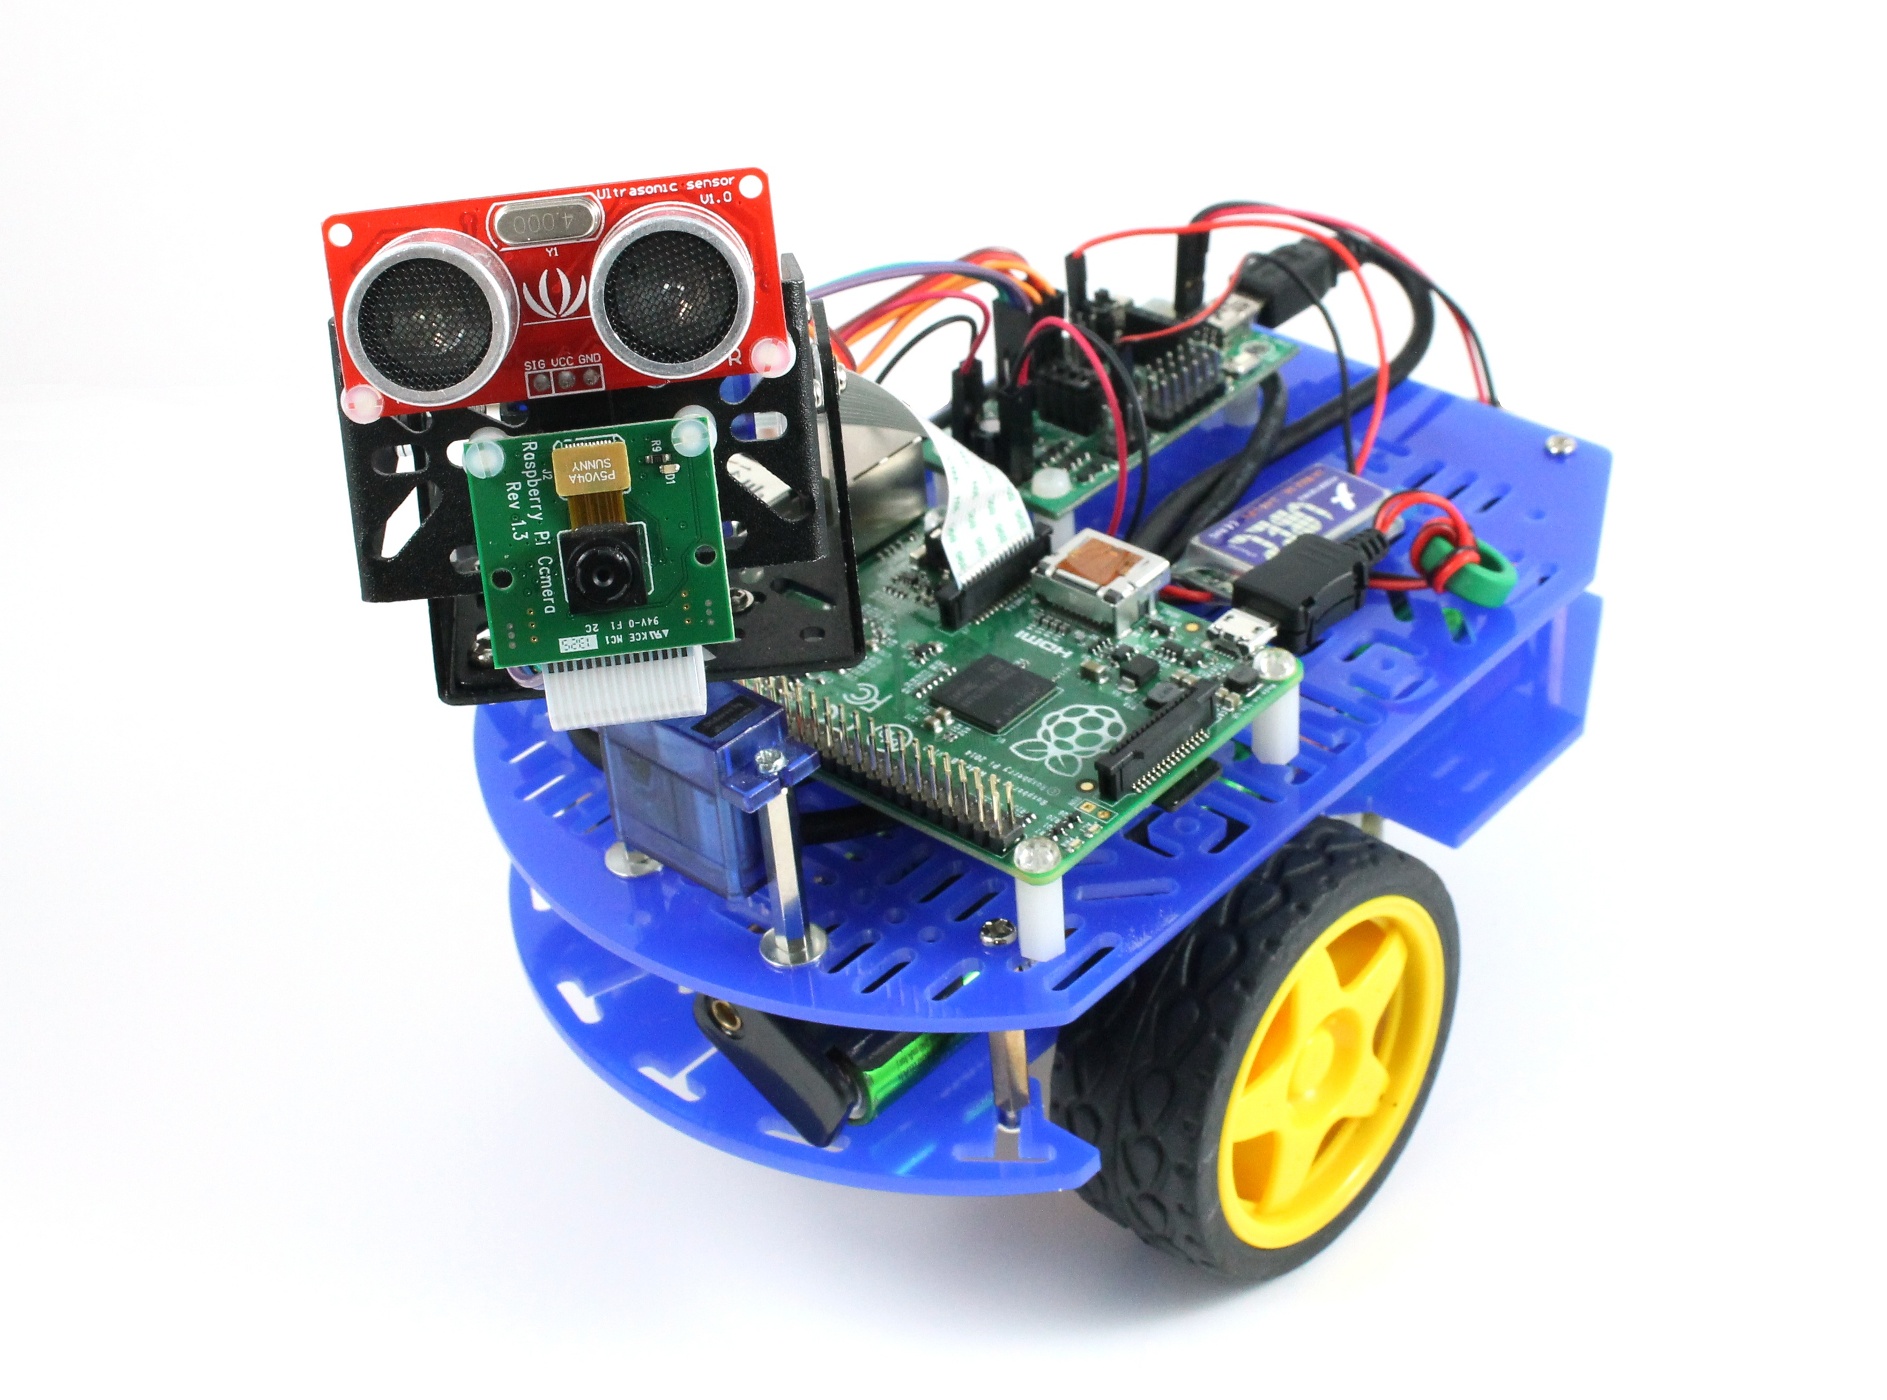
With sensors your robot can find out about the world
Now, you’ve always been able to attach sensors to our Raspberry Pi Camera Robot and the Arduino Mini Driver board we use for motor control, but previously you would have had to modify quite a bit of code in order to get your sensor data out. To fix this, we’ve just released an update to the software for our Raspberry Pi Camera robot which makes things much easier. You can now get a large number of sensors to work simply by connecting them to the Mini Driver. The new Mini Driver firmware repeatedly reads from the attached sensors and sends the readings up to the Pi at a rate of 100 times a second. Once on the Pi, the sensor values can be easily retrieved using the robot web server’s websocket interface. Sensors can also be connected directly to the Pi, with sensor readings returned in the same way.
In this tutorial we show you how to update your robot’s software if needed, how to connect sensors to robot, and then how to read the sensor values using the Python py_websockets_bot library. This will let you write control scripts for your robot that use sensors, and which either run on the Pi, or which run on another computer connected over the network.


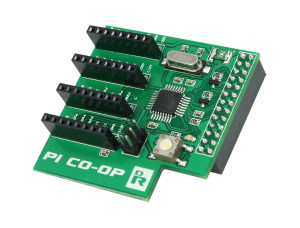 Co-op
Co-op